Configuring the SuiteCommerce Logo List Bundle | NetSuite SMT
This article guides you through configuring the SuiteCommerce Logo List bundle in NetSuite and shares some insights gained from using it.
- Date
- January 13, 2026
- Read
- 6 min

You're using SuiteCommerce and you want to add many images of Partners, Vendors, business segments, or Commerce Category images on the site and direct the end users across the store for easy direction. This free Site Management Tool (SMT) block allows you to drag and drop images for your website’s users to be funneled where you desire across your site.
The following article walks through configuration and wisdom learned from utilizing this bundle as a Store Manager or Admin.
Want to learn more about NetSuite SMT? Check out this Site Management Tools (NetSuite CMS) training article, complete with a video tutorial, that my teammate Caleb put together back in March of 2023!
Pre-Requisites to Configure the Logo List
The following tasks need to be completed for the Admin or Store Manager Role.
Step 1: Navigate to the Enabled Features section of NetSuite (Setup > Company > Enable Features) in the Web Presence tab. Check the following Features if they are not already checked:
- Site Management Tools
- SuiteCommerce or SuiteCommerce Advanced

Step 2: The Logo List bundle is included with the 'SMT Core Content' bundle. This is installed and activated from the Extension Manager.
- Follow this Anchor Group blog post on how to search and install bundles, searching for the “SMT Core Content” bundle (instead of the docusign example given).
- Follow this Anchor Group blog post to activate the “Core Content Extension” from the Extension Manager after it is installed.


Note: This bundle is installed with every Anchor Group SuiteCommerce implementation, and added here in case your environment doesn’t have the bundle or your other SuiteCommerce partner did not install this bundle.
Configuring the Logo List on the Store Front
Step 1: Navigate to your SuiteCommerce site where you want the Logo List to surface.
Step 2: Hit the ‘Escape’ key on the storefront and enter the SMT interface in Edit Mode (pencil icon). Add a new Logo List element and drag it to the proper location. The Logo List bundle should be blue.
Note: If this logo list is grayed out, please verify that the extension is active by navigating to the Extension Manager and doublechecking that the “Core Content Extension” is activated. To navigate to the extension manager, click Commerce > Extensions > Extension Manager.

Step 3: Upon selection, the CMS User Interface should open with dropdowns and 2 tabs of configuration settings.
- Though this article does not walk through all settings, the question mark on the right of the dropdown in SMT provides guidance on each configurable setting.
- On the first tab, you can choose how many logos/images are surfaced per line, whether you would like a carousel or grid view, and the Header Text, to name a few.
- On the second tab, you can configure the image selected, alt text, caption, and destination link. Natively, you can configure 12 images in one logo list block.

Note: One workaround to the 12 image limitation is to stack one logo list on top of each other, and do not include a title on the second logo list to make the lists look seamless on the webpage.
Step 4: After you have styled your Logo List block, please save the element by clicking the blue Save button and publish this element to the site.
- Make sure you publish the element, or it will not surface in the store!
Step 5: Return to the Store to validate that the Logo List is published as desired.
The fastest way we have found is by modifying the URL:
- Copy the URL in the SMT interface
- Opening a new tab
- Paste the SMT interface URL and remove everything after the “cms” until you hit the URL of the page. In this case, you would remove everything after “.com/” until “best-sellers” so the final URL is “sandbox.yourdomain.com/best-sellers”

Author: KC Daniels
Got stuck on a step in this article?
We like to update our blogs and articles to make sure they help resolve any troubleshooting difficulties you are having. Sometimes, there is a related feature to enable or a field to fill out that we miss during the instructions. If this article didn't resolve the issue, please use the chat and let us know so that we can update this article!
Related Article: Featured Products Bundle Configuration in SuiteCommerce
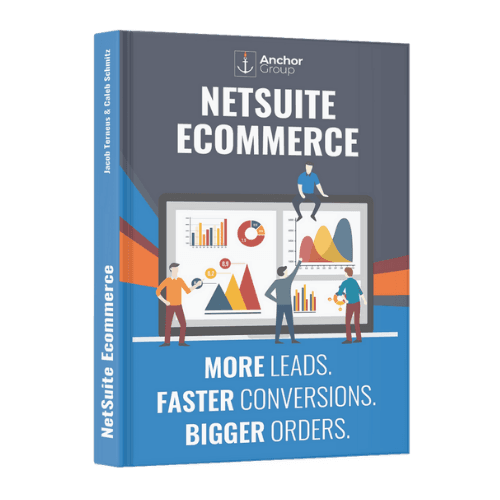
FREE SuiteCommerce Book
If you liked this article, you'll LOVE our book on SuiteCommerce! Order the free SuiteCommerce book today, and we'll even pay for shipping!
Oracle NetSuite Alliance Partner & Commerce Partner
If you have general questions about SuiteCommerce or more specific questions about how our team can support your business as you implement NetSuite or SuiteCommerce, feel free to contact us anytime. Anchor Group is a certified Oracle NetSuite Alliance Partner and Commerce Partner equipped to handle all kinds of NetSuite and SuiteCommerce projects, large or small!
We are a premium SuiteCommerce agency that creates powerful customer portals. Unlike our competitors, we have already solved your problems.
Tagged with Training