
Always make sure that you're keeping up to date on your redirects. If you have Google Search Console already set up on your existing website domain, it'll catch whenever there is a page 404, so you can export out of Google search council and then import it into NetSuite.
Best Practice: Make sure you're updating your redirects during your implementation and any time you change a URL while managing your website post-go-live.
Redirects in NetSuite
So let's go through what a redirect is inside of NetSuite. To begin with, we're going to go to Commerce > Hosting > Redirects.

This will open up a list page where all your redirects will be if you have any in your account already. In our demo account, there are no redirect records to show yet.

You'll notice an Import option on this page. If you're in the middle of a website migration and change a lot of URLs, you can use the CSV import tool to bring in all the redirects from what you had before.
Note: Unfortunately, you cannot do a mass export of redirects from NetSuite. However, you can bulk delete redirects if needed.
We will walk through the step-by-step process of importing redirects later in the tutorial, but first, we'll look at how to setup redirects individually.
Setting up Individual Redirects
The simplest way to set up a redirect, if you only have a couple to do, is to enter them individually. To do this, you will navigate to Commerce > Hosting > Redirects > New.

All you need to do is select what Domain Name you're using for the website, what the old relative URL is, and what the new relative URL is.
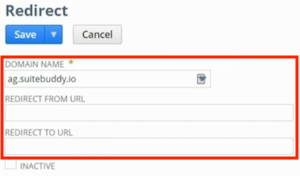
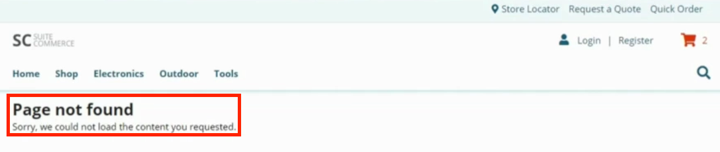
Click Save, and be sure to test the redirect by typing the old URL into your browser and watching to see if it redirects to the new URL. If the redirect doesn't work, you will need to check to see if you entered the information correctly.
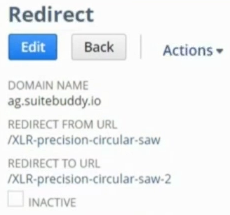
If any mistakes were made, click 'Edit' and make the necessary changes to the redirect record. When you are finished, save it and test the URL again to confirm it is working.
Bulk Import of Redirects
Now that we've covered how to create individual redirects, it's time to look at bulk importing redirects. To begin the process, we will navigate back to Commerce > Hosting > Redirects, and this time we will click 'Import'.
Preparing Your CSV File
If you don't have a CSV file already prepared, you will need to get it ready at this point. All you need within your import file is your relative from URL and relative to URL because you can add the domain later as a static option within the mapping process.
Scan and Upload CSV File
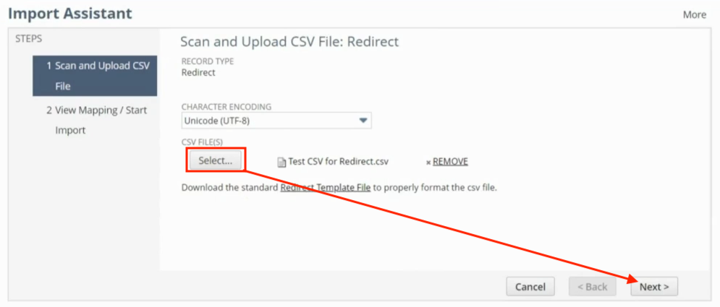
Having prepared our CSV file, we can now select our file to upload, and once it is attached, click 'Next'.
At this point, we need to do our mapping. The options on the left are from your CSV file, and the options on the right are the fields to be mapped to in NetSuite.
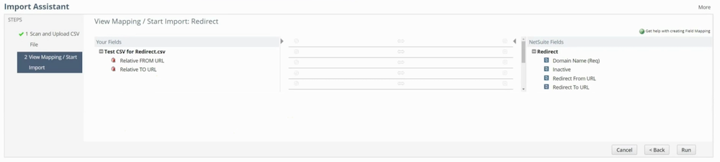
We're going to drag and drop the mapping options for the relative from URL and relative to URL into the table. Then we can drag in the NetSuite domain field, but we have no more fields from our CSV file since we didn't add the domain. So, rather than dragging and dropping it in, we will map it to a static value. To do this, we'll start by clicking on the pencil icon next to the empty field.

This opens up a popup where we can either provide a default value or set it to null. For our example, we will select 'Provide a Default Value' and enter our demo site domain.
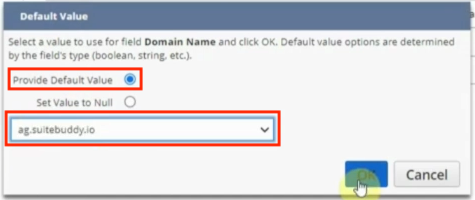
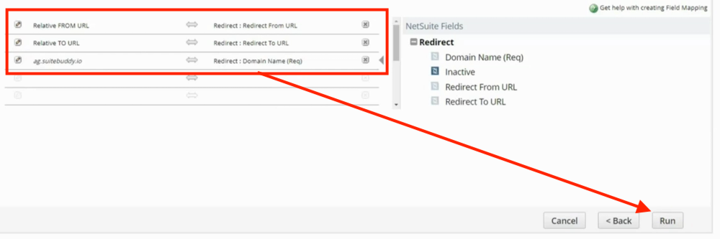
When those settings are in place, click 'OK,' and it will close the popup and map the field. Now that the field mapping is complete, we will click 'Run.'
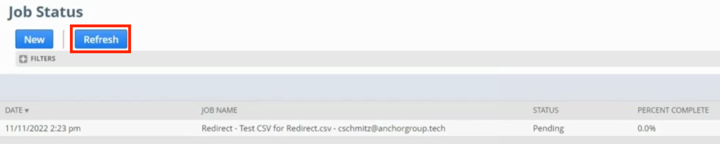
If you are importing a large number of redirects, it may take a little while. As with any CSV Import in NetSuite, you can click 'Refresh' on the Job Status page to see if the import has been completed.
Validating SuiteCommerce Redirects
Once our import is finished, we can navigate back to the redirects list page again to see the SuiteCommerce redirects associated with our account.
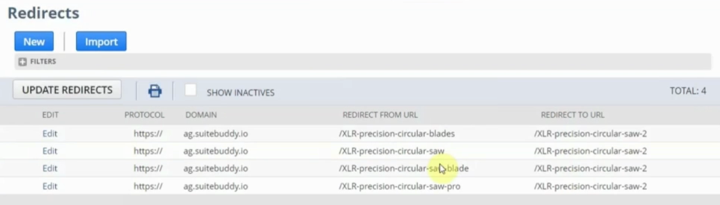
Double-check that the redirects you performed are now displaying on this page. Remember also to test your redirects to ensure that your import didn't contain any errors.
That's all for now! Hopefully, this post gives you something to work with while trying to understand NetSuite and what it can do for your business!
Get stuck in a step during this article?
We like to update our blogs and articles to make sure they help resolve any troubleshooting difficulties you are having. Sometimes there is a related feature to enable or a field to fill out that we miss during the instructions. If this article didn't resolve the issue, please use the chat and let us know so that we can update this article!
Oracle NetSuite Alliance Partner & Commerce Partner
If you have general questions about SuiteCommerce or more specific questions about how our team can support your business as you implement NetSuite or SuiteCommerce, feel free to contact us anytime. Anchor Group is a certified Oracle NetSuite Alliance Partner and Commerce Partner equipped to handle all kinds of NetSuite and SuiteCommerce projects, large or small!

We are a premium SuiteCommerce agency that creates powerful customer portals. Unlike our competitors, we have already solved your problems.