NetSuite Advanced PDF WYSIWYG Deep Dive | Tutorial
Dive deeper into the WYSIWYG mode and learn to easily build a template from the ground up!
- Date
- August 13, 2025
- Read
- 7 min

NetSuite Tutorial | Advanced PDF WYSIWYG Mode: Deep Dive
In this lesson, we will dive deeper into the WYSIWYG mode and learn to easily build a template from the ground up!
Logo & Images
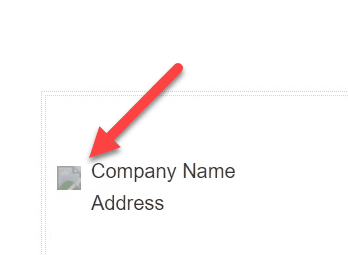
First, let's tackle the company logo. In the preview, the logo is taking over everything. We want to fix that.
Click on the image icon.
Next, we want to adjust the image properties. Let's give the width 160 and the height 95. Set the border, VSpace, and HSpace to 0. Keep the alignment to be left. Finally, hit OK.
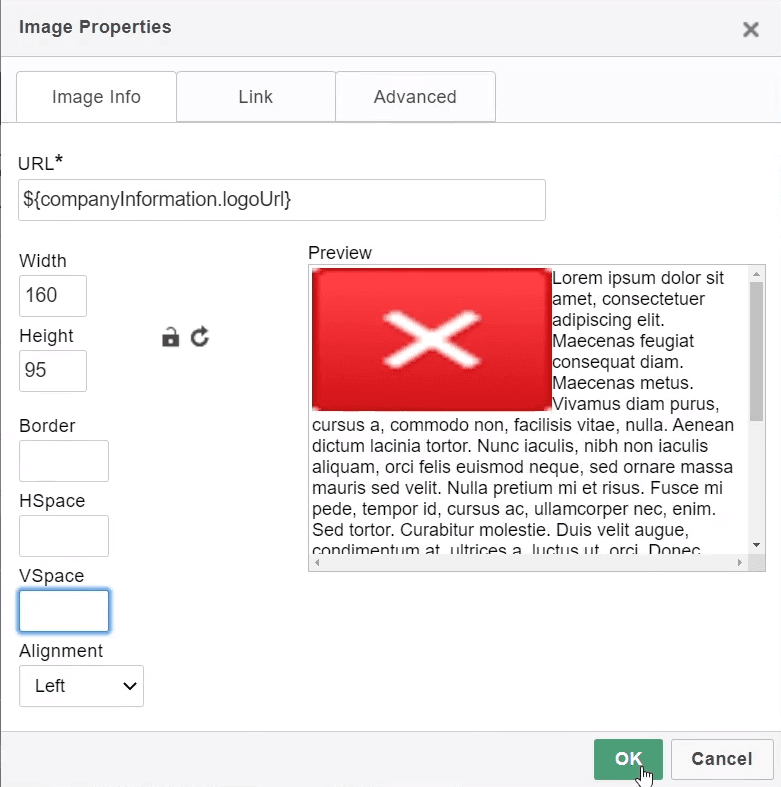
Hit preview to see the changes you made.
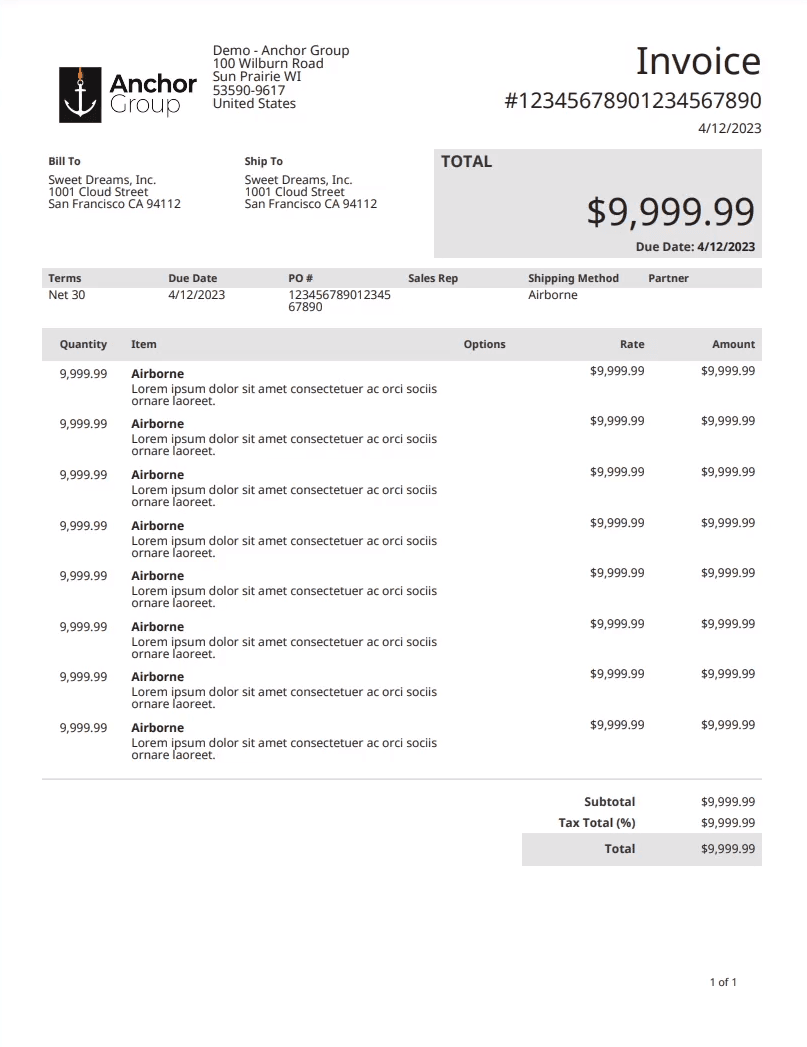
Things are looking much better! These changes we made to our logo may be different from the changes you will have to make to your logo, so just keep that in mind. But now you know how to make changes to your images.
Now that we've checked to see what the preview looks like, we'll want to click Save & Edit.
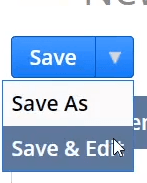
Doing this will allow us to save our progress and continue to edit. Saving our progress is necessary if we want to see the changes we make when we print an invoice anywhere outside of the preview window.
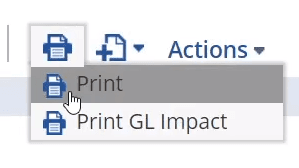
To see what the invoice looks like in practical use, open an invoice and navigate to the print icon at the top of the invoice record. Hover over the icon and select Print.
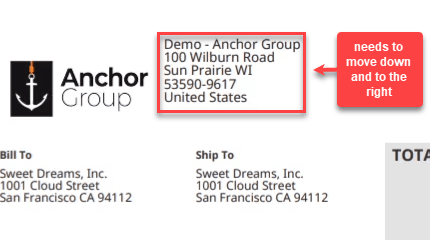
Looking back at the template preview, we can see that the company name and address text are not properly aligned, so we will fix that now.
For this, right-click, in the cell where the company name and address fields are. Next, select Cell>Split Cell Vertically.
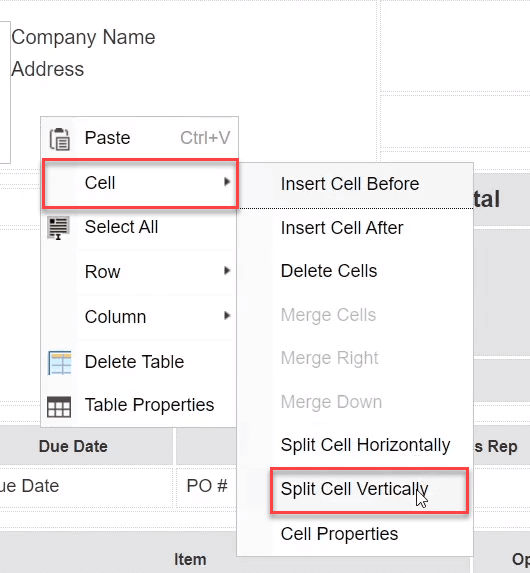
After that, we're going to move the company name and the address over to the cell we just created on the right. Separating this cell in two will let the text have its own space to be manipulated in, so we don't have to worry about it affecting other parts of the template, like the logo.
Now that we've made that change let's click Preview and see what that looks like. If we compare the new template with the last template we made, we can see there is a slight change. It's probably not where we want to be right away, but we're going in the right direction.
Now we'll go back to the WYSIWYG interface, and we will find the box with the company name and address, and we will drag the left side of the box to the left to adjust its placement. If we create a new preview, you will see that it did change slightly, but again, you may need to make more adjustments. Looking at the preview, we can see that the cell we made is bigger than it needs to be and is running up against the cell to the right of it, crunching up the numbers in that cell and making them go to a second line:
To fix this, we will shorten the cell box we made, dragging the right side over to the left. You may need to make similar adjustments to your version; these kinds of adjustments often involve a lot of trial and error.
Also, if you look back at the preview, you might notice that the cell box with the company name and address is too high on the page. To fix this, select the space just to the left of the company name and hit enter until the two fields are at the desired height. Click Preview to check your changes.
Adding a Hyperlink
If you want to add a link to your template, start by double-left-clicking on the field that you want to add the link to. Next, navigate to the Styles ribbon and click on the hyperlink button.

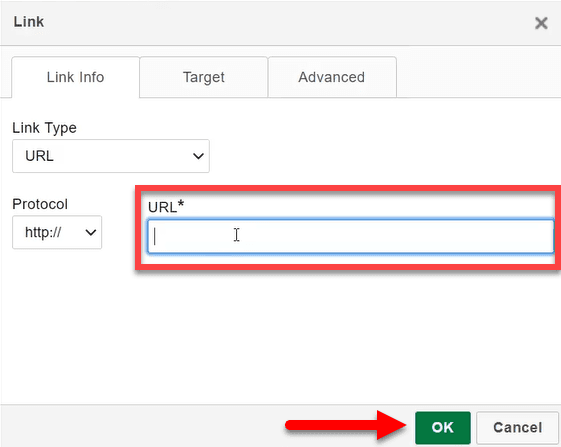
A popup will appear and it will have a field where you can enter a URL. Once you have entered your URL, hit OK.
Next, click the preview button, and in the template preview, right-click on the text that you inserted the hyperlink into and select Open link in a new tab. If your link successfully opens in a new tab, then your link is working. This tool is great for linking your business' website and other resources to your document. If you want to remove a link, click on the text with the link you want to remove an then click the unlink button.

Text Alignment
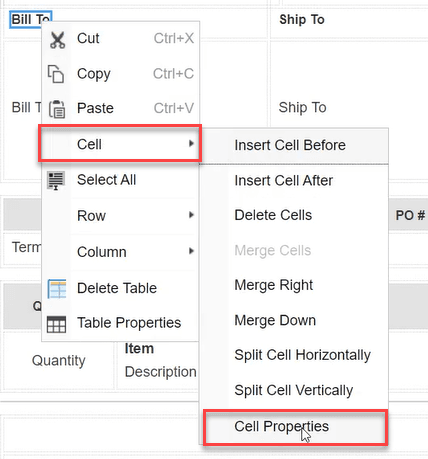
If you look carefully, you may see that not all the text in the template has the proper alignment. To fix this, go to the WYSIWYG interface, and right-click on the field whose alignment you want to change. and select Cell>Cell Properties.
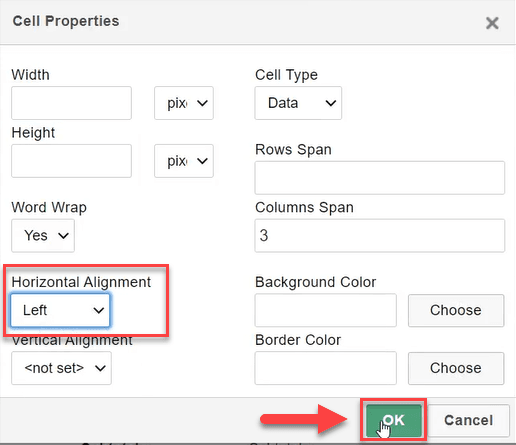
Once the popup has appeared, set the horizontal alignment to the alignment you wish (we will set it to left) then hit OK.
Repeat this process for all fields you want to realign.
Now that these changes have been made, this is a good point to stop and check what a real invoice will look like. In the WYSIWYG interface, hover over the blue save button and click save and edit. Now your template is saved. Open an invoice and navigate to the print button on the invoice and click print. Now you can see what your changes look like on a real invoice.
Adding Fields
To add a field to the template, open the WYSIWYG interface and click on the fields tool icon.
Once open, you can search for the field you want to add.
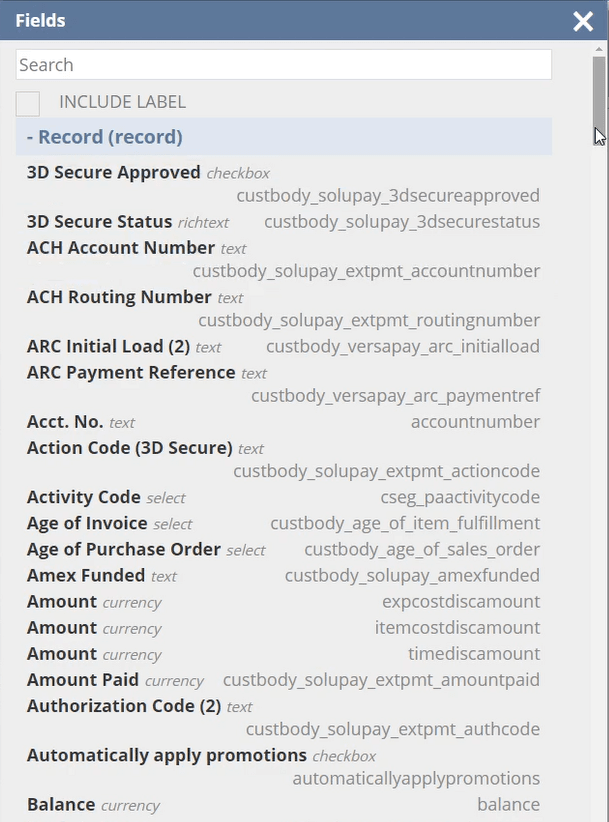
Place the field where you want on the template and save the template. Now that it is saved, go back to the invoice and print the invoice. Your recently added field will display whatever value was in that field on the invoice record you printed from.
That concludes this lesson on the deep dive into WYSISYG mode!
Got stuck in a step during this article?
We like to update our blogs and articles to make sure they help resolve any troubleshooting difficulties you are having. Sometimes there is a related feature to enable or a field to fill out that we miss during the instructions. If this article didn't resolve the issue, please use the chat and let us know so that we can update this article!
Tagged with Training