Using Contentful with BigCommerce Headless
In the ecommerce space one of the most important layers to a site is the CMS or Content Management System. This will allow our clients to dynamically update their BigCommerce application without ever having to touch the code base, all from a user-friendly user interface.
- Date
- December 11, 2025
- Read
- 4 min
BigCommerce headless builds allow you to plug and play with whatever API layers you want to add to your app. This means that while using BigCommerce’s API for our product management and checkout, our BigCommerce developers can add other APIs that will give our clients more functionality where BigCommerce is limited. In the ecommerce space one of the most important layers to a site is the CMS or Content Management System. This will allow our clients to dynamically update their BigCommerce application without ever having to touch the code base, all from a user-friendly user interface.
Creating a Content Model
Before getting started you will need to create a Contentful app. Creating a Contentful app is easy. To do so login or create a Contentful account here. You will then be directed through a series of prompts to set up your first app. For demonstration purposes I have chosen to use the blank template.
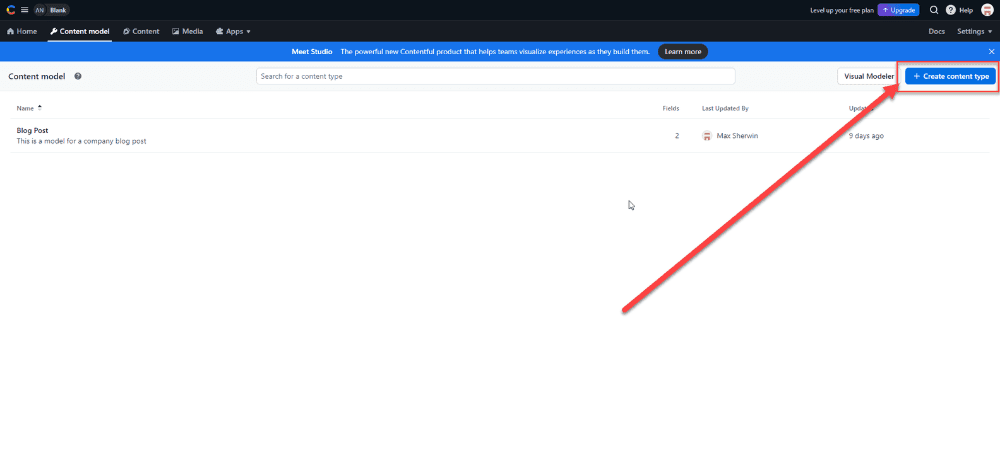
Next we will need to create a content model to use with our application. For this example, we will use a blog. To do so click the create content type from the landing page.
From here we will need to define the basic aspects of our model.

Finally we will have to add the needed fields to our Content Model. Click the add field button to add a new field.

Here is an example of adding a Title field to our BlogContent content model.

Here is the completed content model
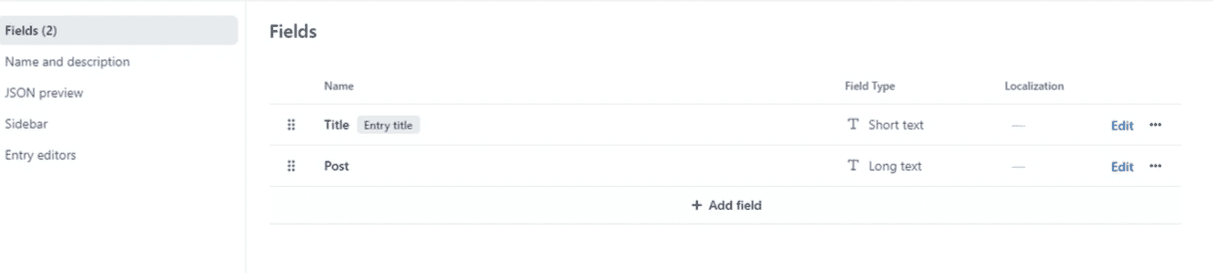
We have completed a basic content model!
Referencing your content in Next.js
Referencing your blog post in Contentful is simple! To reference your blog follow the below example
const contentful = require('contentful')
 const [blogContent, setBlogContent] = useState({})
 const client = contentful.createClient({
   space: 'qzwu5oeumumz',
   environment: 'master', // defaults to 'master' if not set
   accessToken: <API Key>
 })
 useEffect(() => {
   client.getEntry('5bOk7fVDdNKctQ0j3M7ZfZ')
   .then((entry: any) => {
     console.log(entry)
     setBlogContent(entry);
   })
   .catch(console.error)
 }, []);
 return (
   <>
     <h1 className="text-xl font-bold">
       {blogContent.fields ? blogContent.fields.title : "Loading..."}
     </h1>
     <ReactMarkown>
       {blogContent.fields ? blogContent.fields.post : ""}
     </ReactMarkown>
   </>
 )
}
This is a simple react component that gets the Blog that we made by referencing the blog id to get the blog id reference the below image. All of our fields will be stored within the fields field of the returned JSON object.
Note that I use the ReactMarkdown component from the react-markdown npm library in order to render the markdown content of the blog content. This allows for the user to bold and italicize text without having to change any of the code.

If you face problems while using Contentful with BigCommerce, don't hesitate to reach out to our team for support! We offer a variety of BigCommerce Development Services to help companies like yours resolve pain points and get the most out of your software.
Got stuck on a step in this article?
We like to update our blogs and articles to make sure they help resolve any troubleshooting difficulties you are having. Sometimes, there is a related feature to enable or a field to fill out that we miss during the instructions. If this article didn't resolve the issue, please use the chat and let us know so that we can update this article!
BigCommerce Certified Partner, Oracle NetSuite Alliance Partner
As both a BigCommerce Certified Partner and an Oracle NetSuite Alliance Partner, Anchor Group is ready to handle BigCommerce and NetSuite projects alike! Whether you already have one platform and are looking to integrate the other, are considering a full-scale implementation of both platforms or simply need support with ongoing customizations, our team is ready to help answer any questions you might have! Get in touch!